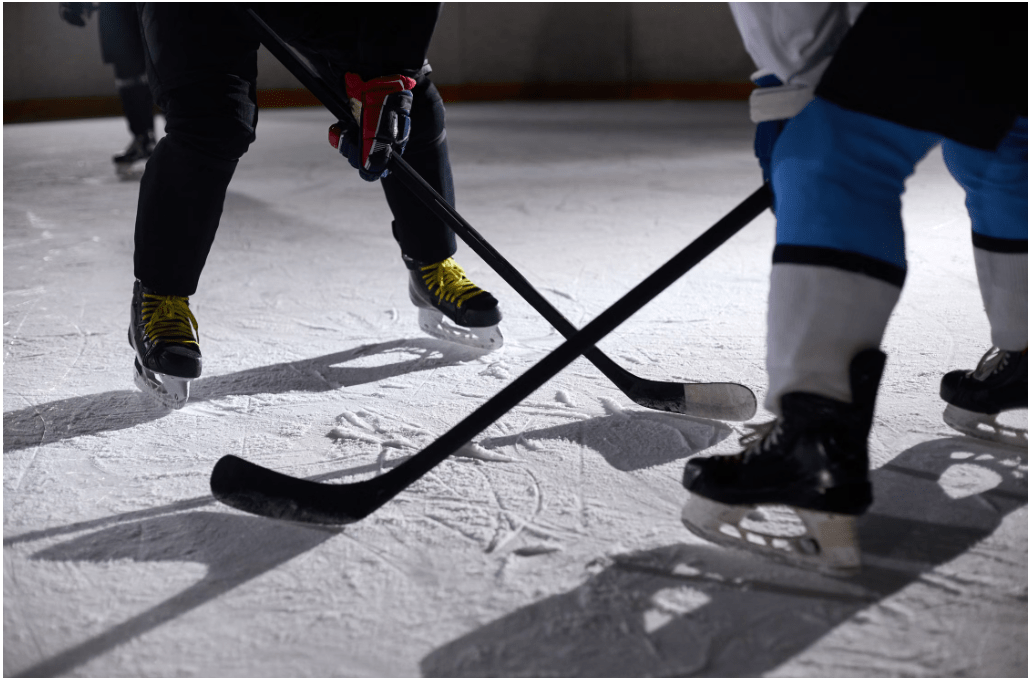
Skating is the absolute foundation of hockey. Before you can handle a puck, take a slapshot, or land a body check, you must feel in complete command of your skates. At the core of all advanced hockey skating—from tight turns to rapid accelerations—are two non-negotiable skills: edge control and stopping.
Mastering these skills takes you from awkwardly shuffling across the ice to gliding with speed, power, and confidence. Here is a practical breakdown of how skate edges work and how to master the legendary “hockey stop.”
1. Understanding Skate Edges: Inside vs. Outside
A hockey skate blade is not a single flat piece of steel; it features a hollow groove running down the middle, creating two distinct sharp edges:
-
Inside Edge: The edge closest to the big toe and inside of your foot. You use this edge for stride pushes, tight turning, and performing basic snowplow stops.
-
Outside Edge: The edge on the side of your pinky toe. This edge is crucial for crossovers, sharp evasive turns, and advanced balance.
-
Flat (Middle): The neutral zone between both edges. Gliding on the flat offers no grip, meaning you cannot push or turn effectively until you engage an edge.
2. Drills to Master Edge Control
Building edge control requires leaning your ankles and knees relative to the ice while keeping your core balanced over your center of gravity.
3. How to Master the Hockey Stop
The hockey stop—turning both feet 90 degrees perpendicular to your direction of travel to shave the top layer of ice—is the ultimate test of edge control.
Instead of digging your blades deep into the ice (which causes you to catch an edge and trip over), a proper stop involves scraping or shaving the ice surface.
Step-by-Step Stopping Progression
Stage 1: The Snowplow Stop (Single Foot)
Before turning both skates sideways, learn the scraping motion using one leg:
-
Skate forward at a comfortable, moderate pace.
-
Glide on your non-dominant foot while extending your lead foot slightly forward.
-
Turn the toe of your lead foot inward and press down on the inside edge, pushing outward to shave ice (like scraping butter off toast).
Stage 2: The Two-Foot Hockey Stop
Once you feel the sensation of shaving ice rather than catching, combine both feet:
-
Build speed and enter a deep hockey stance with knees bent.
-
Unweight your skates slightly by lifting your body weight up just before turning.
-
Turn your hips, shoulders, and feet 90 degrees simultaneously.
-
Distribute your weight:
-
Lead skate: Shaves on its inside edge.
-
Back skate: Shaves on its outside edge.
-
-
Lean back slightly toward your heels to prevent your front edge from digging in too hard and tripping forward.
Common Mistakes to Avoid
| Mistake | Why It Happens | How to Fix It |
| Catching an edge / Falling forward | Putting too much weight on the front toes during a stop. | Lean back slightly into your heels and deepen your knee bend. |
| Ankles bowing inward | Loose skate laces or weak ankle stability. | Tie skates tightly through the eyelets and practice off-ice ankle strengthening. |
| Only stopping on one side | Relying purely on your dominant leg. | Force yourself to practice snowplow scrapes on your weak side during every session. |
Summary
Edge control and stopping are muscle-memory skills that require repetition. Spend at least 15 minutes of every public skate session focusing strictly on one-foot glides, deep edge turns, and ice-shaving scrapes. Once your edges feel natural, your speed, agility, and puck control will improve dramatically.