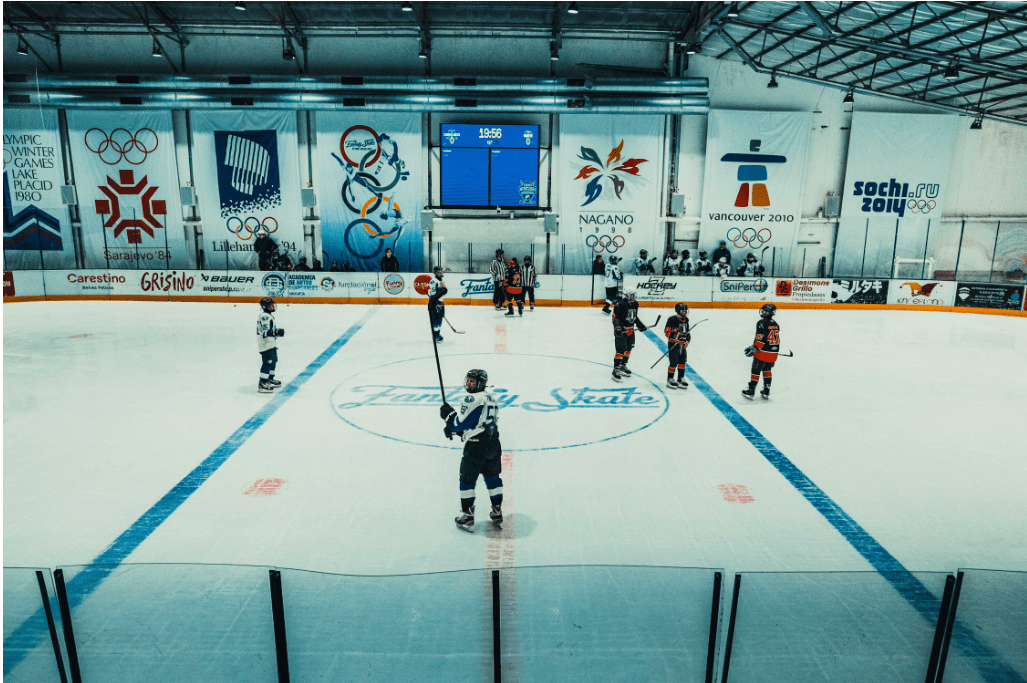
The forecheck is an offensive team’s first line of defense—and defensive team’s first chance to force a turnover. When a team loses possession in the offensive zone, a structured forecheck dictates how aggressively players pressure the puck, collapse on passes, and seal off breakout lanes.
Choosing the right forechecking system depends on a team’s speed, defensive discipline, and game situation. Here is a breakdown of hockey’s three primary forechecking frameworks: the 1-2-2, the 2-1-2, and Trap Systems.
1. The 1-2-2 Forecheck (“The Standard”)
The 1-2-2 is the most widely used forecheck across professional and amateur hockey because it strikes a perfect balance between offensive pressure and defensive coverage.
How It Works
-
First Forward (F1): Acts as the deep pressure player. F1’s goal is not necessarily to lay a huge hit, but to force the breakout defenseman to commit to one side of the ice (usually cutting off the rim or reverse pass).
-
Second Layer (F2 & F3): F2 moves in to seal the wall on the side where the puck is passed, while F3 locks down the high slot/middle ice to intercept cross-ice stretch passes.
-
Third Layer (D1 & D2): The defensemen hold the offensive blue line, holding their ground if F2 and F3 force a hurried turnover.
Pros & Cons
-
Pros: Highly adaptable, minimizes odd-man rushes against, easy to teach players.
-
Cons: Allows opponents to execute clean breakouts if F1 fails to force a hasty decision.
2. The 2-1-2 Forecheck (“The Aggressive Spread”)
Often referred to as the “Spread” or “Heavy Pressure” forecheck, the 2-1-2 is designed to create chaos below the goal line through sheer physicality and quick puck recovery.
How It Works
-
First Layer (F1 & F2): Two forwards enter the zone hard and fast. F1 attacks the puck carrier directly, while F2 immediately targets the support defenseman or puck outlet along the boards.
-
High Support (F3): The third forward stays high near the top of the circles/slot, ready to pounce on loose pucks squeezed out by F1 and F2 or cover defensively if the puck breaks out.
-
Defensemen (D1 & D2): Positioned at the blue line, pinching down aggressively on weak breakout attempts.
Pros & Cons
-
Pros: Forces high-stress turnovers deep in the opponent’s zone; excellent for physical teams.
-
Cons: High risk. If the opponent completes one clean breakout pass, they often create an instant 3-on-2 or odd-man rush going the other way.
3. Neutral Zone Trap Systems (1-3-1 & 1-1-3)
Trap systems prioritize patience over physical pressure. Instead of chasing the puck behind the opponent’s net, trapping teams fall back and transform the neutral zone into a wall of stick checks and clogged lanes.
The 1-3-1 Trap
-
Structure: F1 pressures the puck handler casually to direct play toward one side. Three players (F2, F3, D1) form a wall across the neutral zone between the red line and blue line. The final defenseman (D2) stays back as a safety valve.
-
The Goal: Funnel the puck handler into the wall near the boards, where two or three players instantly pinch to trap the puck carrier against the ice.
Pros & Cons
-
Pros: Frustrates high-skill, fast-skating teams; holds leads late in games effectively.
-
Cons: Slows down the game’s pace; requires extreme tactical discipline and offers low offensive zone possession time.
Quick Comparison Summary
| System | Aggression Level | Risk Level | Best Used When… |
| 1-2-2 | Moderate | Low / Medium | Facing balanced teams; standard game situations. |
| 2-1-2 | High | High | Trailing in a game or playing against slow defensemen. |
| 1-3-1 Trap | Low | Low | Protecting a lead or playing against a faster, high-skill opponent. |