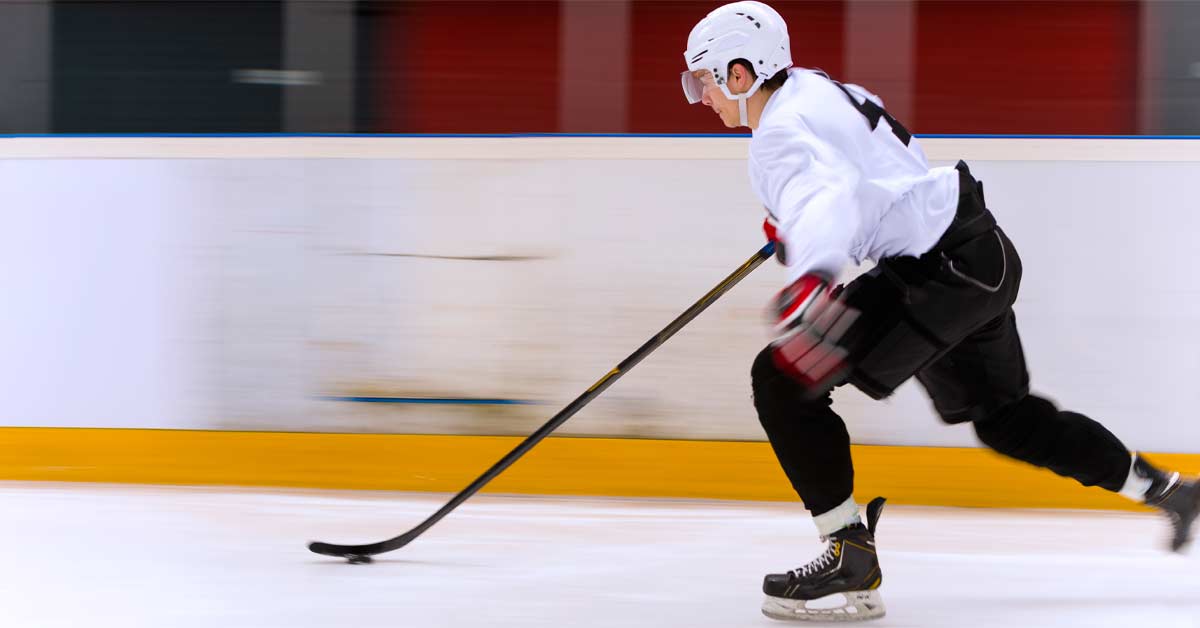
In modern hockey, speed is the ultimate weapon. Whether you are hunting down a loose puck, creating separation on a breakaway, or backchecking to break up an odd-man rush, your skating ability dictates your impact on the game.
A common misconception among beginners is that skating faster simply means moving your legs quicker. In reality, elite speed is the result of biomechanical efficiency, deep joint flexion, and maximum force application into the ice. Here is how to correct your mechanics to build explosive acceleration and top-end speed.
1. The Foundation: Ankle and Knee Flexion
You cannot generate power if your legs are straight. Elite skaters look like they are sitting in an invisible chair while they skate. This lowered center of gravity does two things: it makes you harder to knock off the puck, and it loads your muscles like a coiled spring.
-
Ankle Flexion: Press your shins hard into the front tongue of your skates. If your ankles are completely upright, your stride will be choppy and weak.
-
Knee Bend: Aim for a 90-degree bend in your knees. Your chest should remain up, and your shoulders should be vertically aligned over your toes.
2. Explosive Acceleration: The First Three Steps
Top-end speed means nothing if it takes you half the rink to reach it. Hockey is a game of short sprints, meaning the first three steps dictate who wins the race to the puck. To accelerate rapidly from a dead stop, you must master the V-Start.
3. Maximizing Top-End Speed: The Forward Stride
Once you have accelerated, you transition into your forward stride. This is where you focus on lengthening your pushes to maximize your glide speed.
-
Full Extension: Push your drive leg directly out to the side (not straight back). Extend the leg completely, finishing with a hard “toe snap” off the front of your blade. If your knee is still slightly bent at the end of your push, you are leaving power on the table.
-
Complete Weight Transfer: As you push, 100% of your body weight must transfer over your gliding leg. Your nose, knee, and toe of the glide leg should all align vertically.
-
Low Recovery: After the push, bring the skate back directly under your body, keeping it as close to the ice as possible. A common mistake is kicking the heel up toward the glutes, which acts as a parachute and slows you down.
4. The Forgotten Secret: Arm Mechanics
Many players bleed speed because they swing their arms from side-to-side (East-to-West) across their chest. Lateral arm movement creates rotational torque, which forces your core to fight against your own momentum, shifting your energy sideways rather than forward.
The Fix: Pump your arms North-to-South.
Drive your hands forward and backward in a straight line, keeping your elbows tucked tight to your ribs. Your bottom hand should push straight out toward the net, and your top hand should drive straight forward. The faster and more linearly you pump your arms, the faster your legs will follow.
5. Essential On-Ice Speed Drills
To build muscle memory, incorporate these simple drills into your next stick-and-puck session:
-
Goal Line Sprints (Without a Stick): Drop your stick and sprint from the goal line to the blue line, focusing purely on deep knee bend and aggressive North-South arm swing.
-
One-Legged C-Cuts: Skate the length of the ice using only your right leg to push while gliding on your left. This forces you to perfect your full extension and weight transfer. Switch legs on the way back.
-
Resistance Towing: Pair up with a teammate. Wrap a resistance band around your waist while they provide drag from behind. Fight through the resistance for 15 seconds to build explosive leg strength.