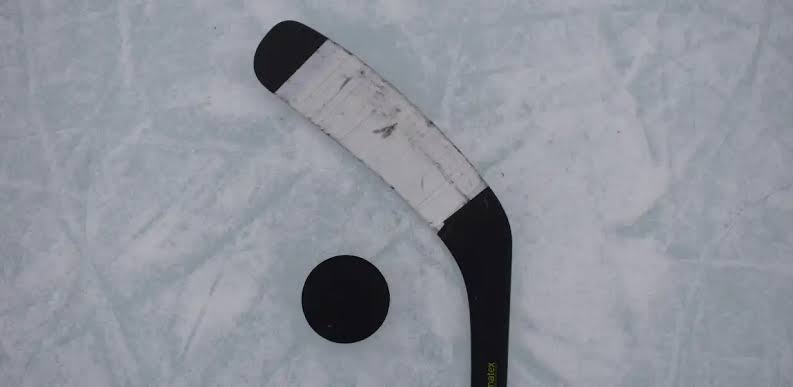
Taping your hockey stick is one of the most sacred rituals in the sport. Ask ten different hockey players how they tape their stick, and you might get ten different answers. However, taping your stick is far more than just a pre-game habit—it serves two critical functional purposes.
On the blade, tape protects the expensive composite material from chips and water damage while adding friction to grip the rubber puck. On the handle (butt end), tape creates a custom grip profile that prevents the stick from slipping out of your top hand.
Here is a step-by-step guide to taping both your blade and handle like a seasoned pro.
1. What You Will Need
Before you start, gather these essential supplies in your hockey bag:
-
Cloth Hockey Tape: Standard 1-inch wide cloth tape (black or white).
-
Grip Tape / Stretch Grip (Optional): Soft, elastic self-adhering tape for the handle.
-
Scissors: Sharp fabric scissors for clean cuts.
-
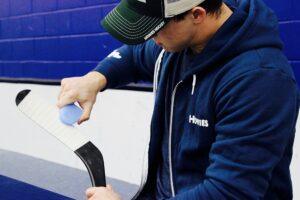
Puck / Wax: A standard vulcanized puck or specialized hockey stick wax.
2. How to Tape the Stick Blade
There are several variations, but the classic Heel-to-Toe Wrap is the gold standard used by NHL players for optimal puck control and water resistance.
Black Tape vs. White Tape: Does It Matter?
-
Black Tape: Makes it harder for goalies to pick up the puck visually against your blade face during quick shot releases.
-
White Tape: Makes the puck easier for you to see in your peripheral vision while stickhandling without looking down.
3. How to Tape the Stick Handle (Butt End)
Your top hand controls the stick’s movement, pivot, and leverage. Building a solid handle ensures a firm grip without prematurely wearing out the palm of your expensive hockey glove.
Step 1: Create a Knob at the Top
Unroll about 10–15 turns of cloth tape directly around the very top rim of the shaft to build a raised ring or “knob.” This knob prevents the stick from sliding through your top glove hand during poke checks or battles along the boards.
Step 2: Wrap Down the Shaft (6 to 8 Inches)
Once the knob is built, wrap the tape diagonally down the shaft for 6 to 8 inches to create your top hand grip area. Keep the tension tight and smooth out any wrinkles as you go.
Step 3: Add Ribbed Ridges (Optional Customization)
For enhanced finger grip:
-
Twist a 2-foot piece of unrolled tape into a tight rope.
-
Spiral this sticky rope down the top 6 inches of the handle at 1-inch intervals.
-
Wrap a smooth layer of standard tape or flexible grip tape directly over the spiral to create custom finger grooves.
Common Taping Mistakes to Avoid
-
Leaving Gaps on the Blade: Exposing raw composite material allows moisture to enter micro-cracks, weakening the blade over time.
-
Pulling Too Loose: Loose tape bubbles, catches on the ice, and tears off during your first shift. Keep high tension on the roll as you wrap.
-
Over-Taping the Handle: Building a massive, heavy knob adds unnecessary top-weight to your stick and ruins the natural balance.